
Chair Restoration Guide
Are you ready to breathe new life into your old, worn-out chairs? With our comprehensive chair restoration guide, you’ll learn everything you need to know to tackle your next DIY project like a pro. Let’s get started!
Step 1: Assess the Damage
Before diving into the restoration process, take some time to carefully assess the condition of your chair. Identify any areas of damage, such as loose joints, cracked wood, or missing pieces. This will help you determine the scope of the restoration and what repairs are needed.
Step 2: Gather Your Supplies
Once you’ve assessed the damage, gather all the necessary supplies and materials for your restoration project. This may include:
Wood glue
Clamps
Sandpaper
Wood filler
Stain or paint
Varnish or sealant
Screwdriver or drill (for hardware repairs)
Step 3: Repair Loose Joints
If your chair has loose joints or wobbly legs, start by applying wood glue to the affected areas. Use clamps to hold the joints together while the glue dries, ensuring a tight and secure bond. Once the glue has fully cured, remove any excess and sand the area smooth.
Step 4: Fill in Cracks and Gaps
For chairs with cracked or damaged wood, use wood filler to fill in any cracks or gaps. Apply the filler with a putty knife, smoothing it out as you go. Once the filler is dry, sand the area until it’s smooth and level with the surrounding wood.
Step 5: Sand and Prep the Surface
Before applying any finish, thoroughly sand the entire surface of the chair to remove any old finish or imperfections. Start with a coarse-grit sandpaper to remove the bulk of the material, then switch to a finer grit for a smoother finish. Wipe down the chair with a damp cloth to remove any dust or debris.
Step 6: Apply Finish
Now it’s time to apply your chosen finish to the chair. Whether you prefer stain, paint, or a natural wood finish, make sure to apply it evenly and in thin coats. Allow each coat to dry completely before applying the next, and don’t forget to sand between coats for a smooth and professional-looking finish.
Step 7: Reassemble and Enjoy
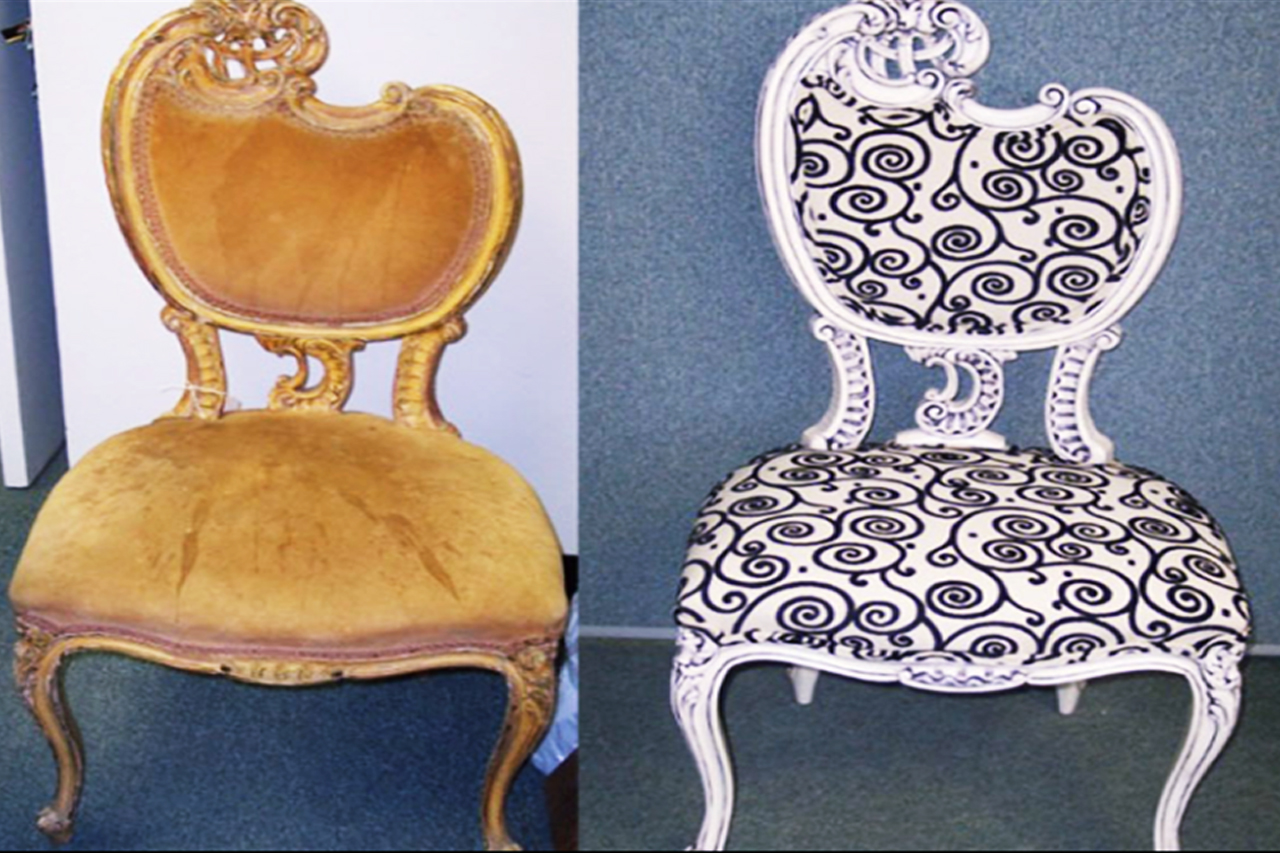
Once the finish has dried, reassemble the chair and admire your handiwork! Take a moment to appreciate the transformation and enjoy the satisfaction of knowing you’ve restored a piece of furniture to its former glory.